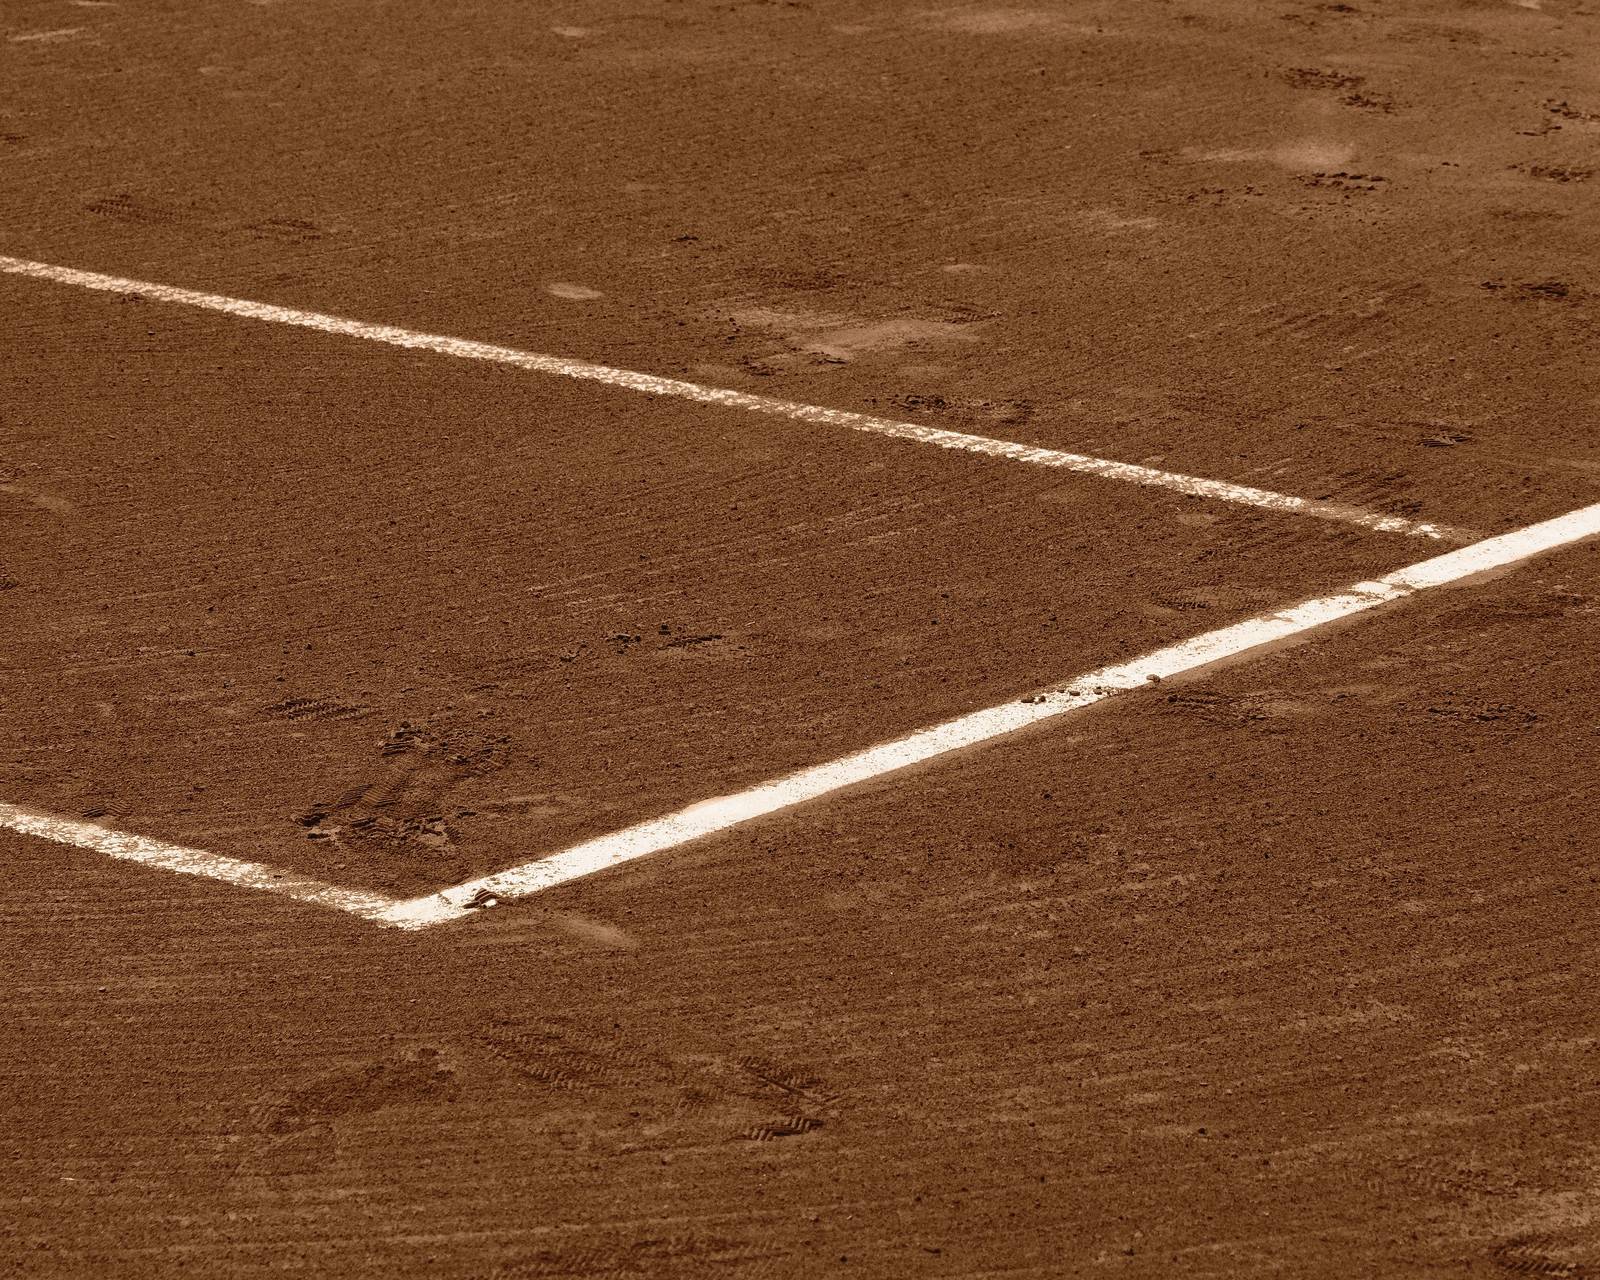
A toned mono film recipe designed to bring clay court tennis vibes to your photos
Some film simultion recipes are versatile and work will in a wide variety of conditions. On the other hand, some are designed with a specific set of conditions in mind, for example, film recipes for the golden hour.
This film recipe was created during a visit to the Barcelona Open Tennis in 2024, and was inspired by the dusty orange tones of the clay courts. It’s something of an experiemental look, and quite possibly limited to just this use case, but it also servers as a reminder of how flexible our Fujifilm X series cameras are in producing ‘ready to use’ JPEGs in all sorts of styles.
Stefanos Tsitsipas takes up a ready position. Clay Court film recipe
The King of Clay, captured with the Clay Court film recipeLooking in from outside the court. Clay Court film recipe
On the phone. Captured with the Clay Court film recipePre-match perparations. Clay Court film recipe
Mid air action shot, using the Clay Court film recipePractising hard. Clay Court film recipeScreened view. Clay Court film recipeReady to serve … Vamos Rafa! Clay Court film recipe
People on phones are easy subjects for street beginners like me
Captures from my seat, with the Clay Court film recipe
Watching the action. Clay Court film recipeTaking a break. Clay Court film recipeA glimpse of Stefanos. Clay Court film recipeThrough the fence. Using the Clay Court film recipe
An easy to use, go everywhere film simulation recipe for casual shooting
Sometimes you just want to take photos. You don’t want to worry too much about the technical or the rules, and you just want to capture quick snaps as you go about your day. This Point and Shoot film recipe is designed for just this sort of casual shooting.
The recipe is based on the idea that a simple 35mm pocket camera, loaded with a roll of 200 film was all you needed. There weren’t many settings to consider, but you got some lovely colourful prints and could relive the memories each time you opened up the album.
So, take it easy. Don’t overthink it. Just enjoy taking pictures and relax knowing your images will have a wonderfully film like look with bouncy colour and happy tones.
Shooting from the hip in the local park, Point and Shoot 200 film recipe
Point and Shoot 200 Film Recipe
Simulation: Classic Negative
Grain Effect: Weak, Small
Colour Chrome Effect: Weak
Colour Chrome Blue: Off (IV) / Off (V)
White Balance: Incandescent
WB Shift: +8 Red, -9 Blue
Dynamic Range: DR200
Highlights: -2.0
Shadows: -1.0
Color: +1
Sharpness: -2
ISO Noise Reduction: -4
Clarity: -2
EV compensation: +1/3
A day at the tennis, with the Point and Shoot 200 film recipeThe British no.1 about to serve. Point and Shoot 200 film recipe
Scenes from the stands, using Point and Shoot 200 film recipeFly agaric emerging, Point and Shoot 200 film recipe
Late summer tones, snapped with the Point and Shoot 200 film recipeLate afternoon by the marina, Point and Shoot 200 film recipe
Blue skies at the boatyard, with Point and Shoot 200 film recipeSpring blossom and green leaves, Point and Shoot 200 film recipe
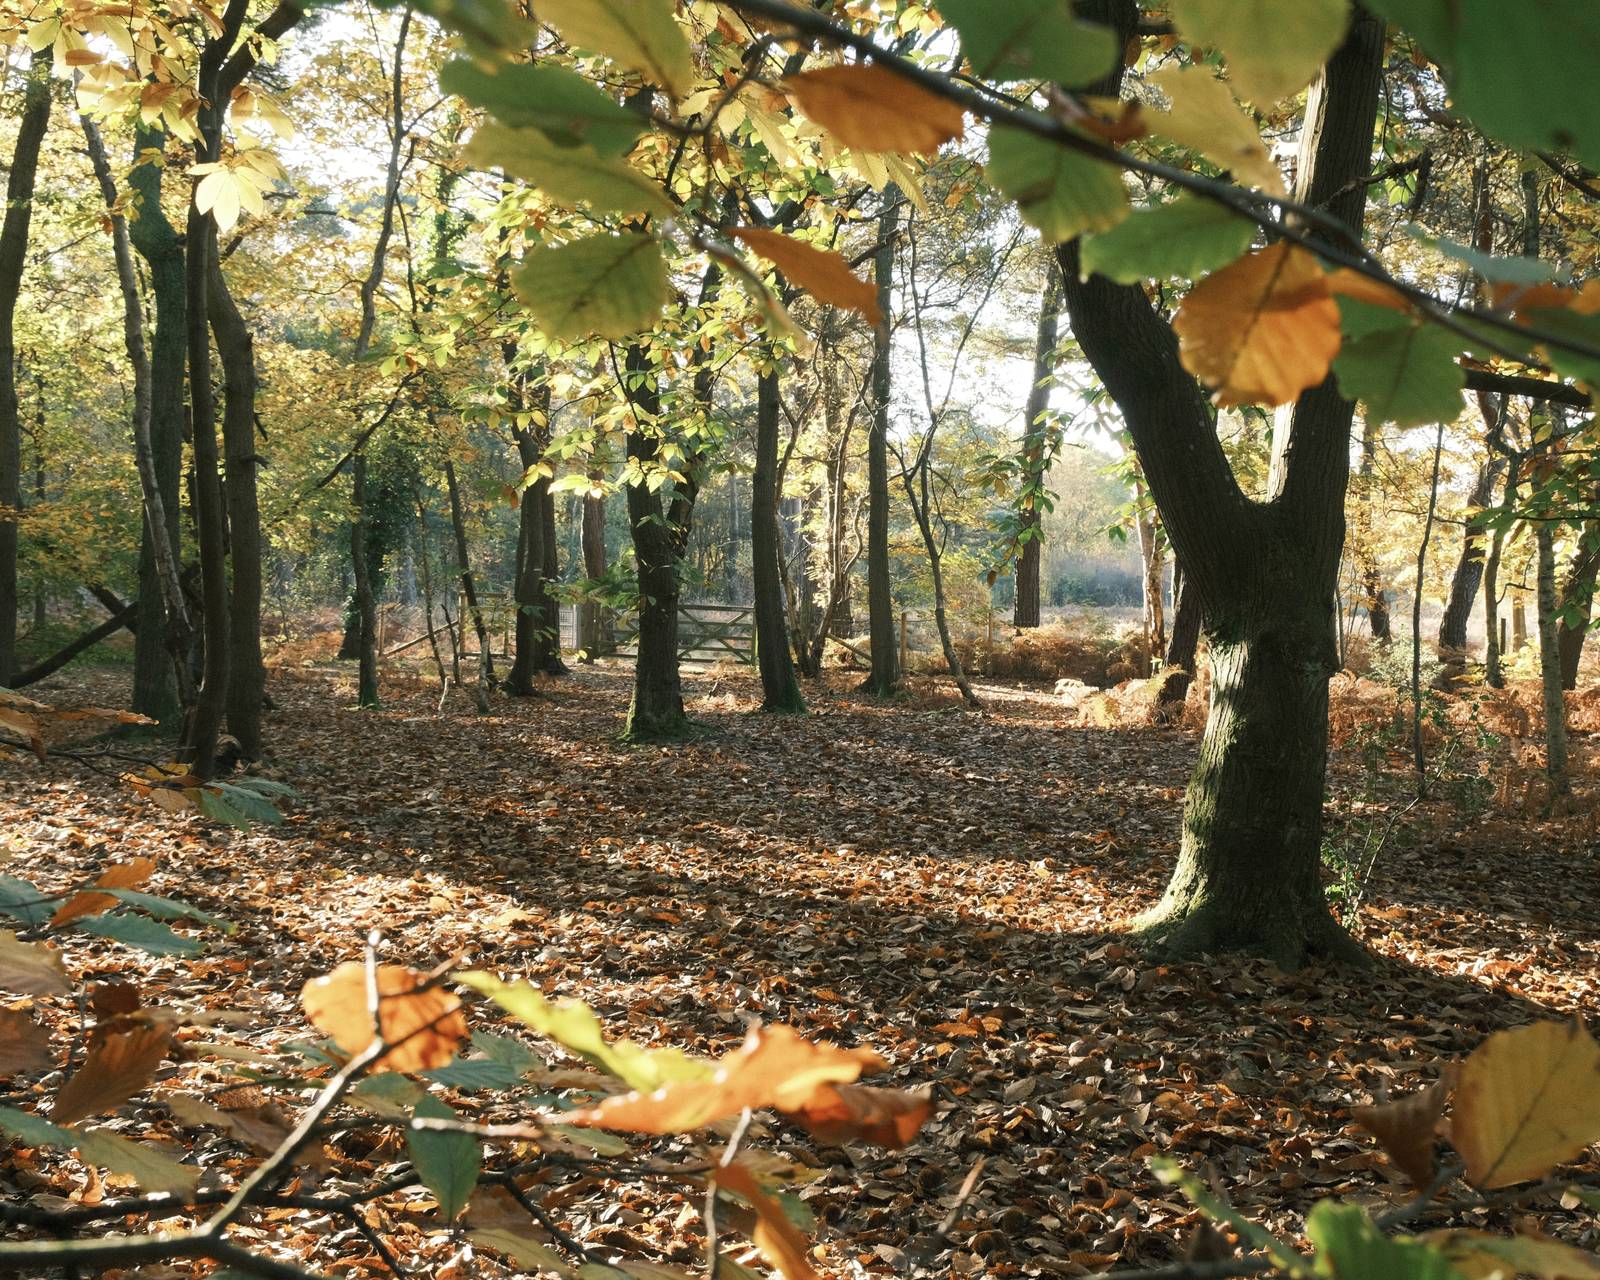
Wandering in the woodland, with Point and Shoot 200 film recipeWinter morning photowalk, using Point and Shoot 200 film recipe
A cold and misty morning, captured with Point and Shoot 200 film recipeChanging seasons, with Point and Shoot 200 film recipe
A robin perched on a branch, Point and Shoot 200 film recipe
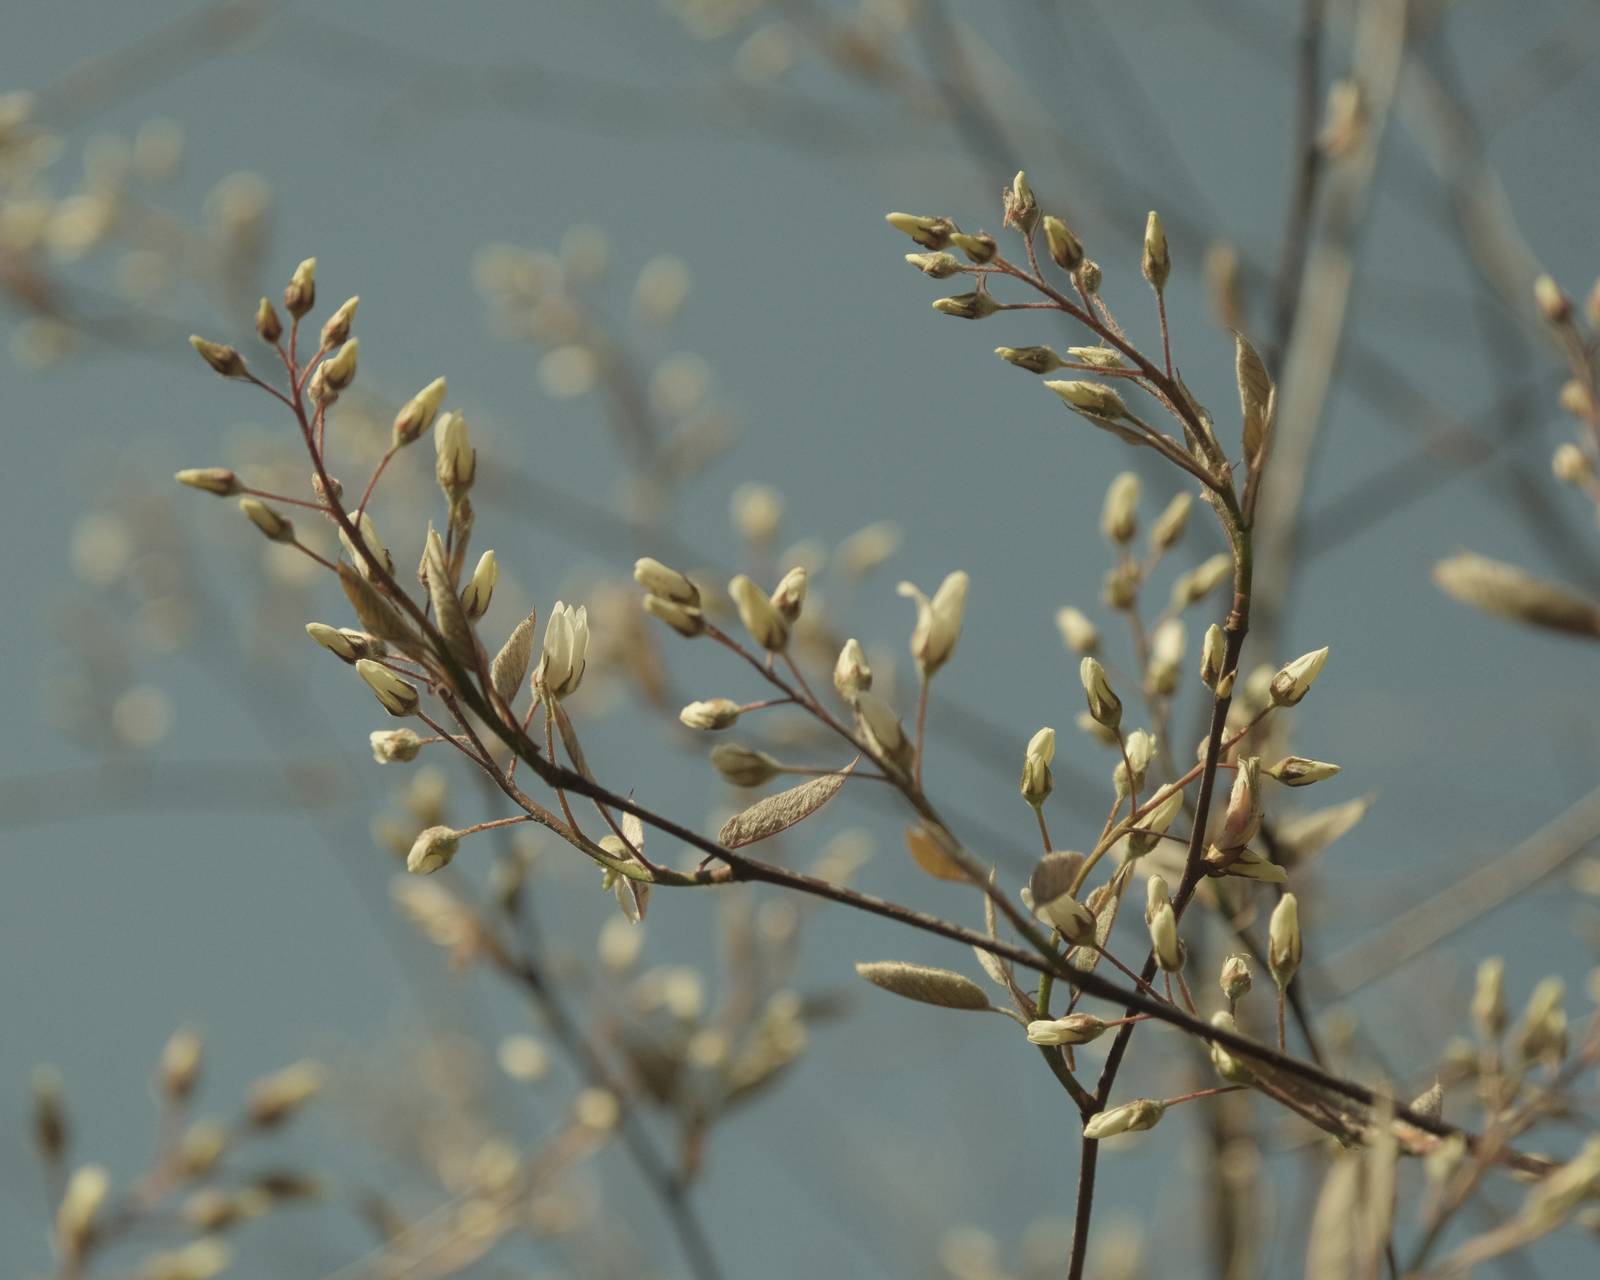
Leafy macros, using the Point and Shoot 200 film recipe
Capture banana yellow tones with this extreme colour balance film recipe
I like to be surprised by the versatility of our Fujifilm cameras, and the range of styles that can be producted with film simulation recipes. We have a good selection of film simulations to explore, and with the addition or adjustments to tone, saturation and colour balance, the possibilities are almost endless. However, there are some looks that seem to come around quite often, especially when trying to keep close to a film like aesthetic, or to model a recipe on a real 35mm film stock.
For something different, we have to look to more extreme settings, or to be bold and try something unexpected. I got a taste of this on April 1st, when Ritchie from Fuji X Weekly gave us his Apocalyptic Glow film recipe. Whilst this recipe was intented to be a fun joke, the pop art style with vivid orange tones got me thinking. I wondered what other extreme settings might give a fun look that I would want to go out and shoot with?
I staked close to the 10,000K color balance, but went for yellow rather than orange in the color shift. I also wanted less saturation, so I chose Classic Chrome rather than Ritchie’s Velvia. The resulting recipe is still a more extreme look film recipe, but I think it has a place, especially around sunset or in pursuit of the Wes Anderson inspired Asteroid City vibes.
Banana yellow sunshine tones, using the Bananarama Film Recipe
Spring blossoms in the morning sun, with Bananarama Film RecipeA low tide sunset, captured with Bananarama Film RecipeWalking the dog along the shingle, using Bananarama Film Recipe
A heavy dose of bold yellow tone, using Bananarama Film RecipePerfect for a yellow sunset tone, Bananarama Film Recipe
Details on the old boats, captured with Bananarama Film RecipeFlying a kite in sunny blue skies. Bananarama Film Recipe
Winter in the woodland, with Bananarama Film RecipeSunlight and oyster shell, golden with Bananarama Film Recipe
Beachcombing with my X-S20 and the Bananarama Film RecipeA golden glow on a misty morning, Bananarama Film Recipe
Misty vision, captured with the Bananarama Film Recipe
Cinematic tones film simulation recipe, using Pro Neg Standard and negative clarity
One of the things I love about shooting with Fujifilm is how you can achieve a wonderfully cinematic style, straigt out of camera with no fussing about. I find that these cinematic film recipes bring a film like, analog feel to images, and are an antidote to the high contrast high saturation digital bluntness that I see so often from other cameras.
For this new take on the theme, I’ve started with the softer of the Pro Neg film simulations and then used DR400 for an even smoother gradient around highlights. This is complimented with a cinematic colour balance that is calming and slightly green/teal toned. It has a feel somewhere between Eterna and Nostalgic Negative, but is also something all its own.
Photos taken with this recipe has a sophisticated softness and are most definitely a huge step up in character from phone photos. They have a nostalgic feel and a sense of control what makes them suitable in a wide range of conditions. Golden hour looks great, but you can use this in all sorts of light, and despite the fixed color temperature, it’ll provide wonderful results.
Mellow, film-like mood, captured in the woods with Cine Pro film recipe
Loonse & Drunen Dunes National Park, using Cine Pro film recipeA sunny afternoon in the New Forest, with the Cine Pro film recipeA hazy sunrise in Hampshire, captured with Cine Pro film recipe
Sunrise silhouettes, with the soft tones of Cine Pro film recipeBrown leaf mellowness, Cine Pro film recipe
Seasonal scenes, with the Cine Pro film recipe
It’s a snow day … Captured with Cine Pro film recipeBraver than me. Sea swimming club, with Cine Pro film recipe
A blustery day on The Solent, using Cine Pro film recipeSpring leaves in the sunlight, with Cine Pro film recipe
Spring greens captured in the afternoon sun, Cine Pro film recipeSunlit post box, captured with the Cine Pro film recipeA bright winter morning, using the Cine Pro film recipeWinter fog is even more cinematic with the Cine Pro film recipe
A rocky shoreline in Mallorca, with the Cine Pro film recipe
Old tone monochrome film recipe like images from the early days of photography
For this toned monochromatic film recipe, I’m revisiting an aesthetic I’ve explored before, but feel that with this new look, there’s a bit more to add.
The look is based on images from around a century ago, in the silent era of film and a time of photography pioneers. Styles at this time featured no colour of course, and in print, often had brown tones from the development process.
Brown and sepia tones are sometimes divisive, and I certainly come and go from loving them. But, I also know that for certain subjects and conditions they look great. Especially if the subject can be translated to a time period when this sort of photography was the norm.
This recipe contains three main elements to achieve the look; heavy grain, a mono colour tone shift and the maximum setting for negative clarity. Together these produce the vintage images, and where depth of field gives softness in the background, a feel similar to early tintype images where the subject can seem to jump off the page.
My tip for the use of this film recipe, is to look to capture images with some imperfections. Don’t worry about some areas being out of focus, or everything being sharp. Softness and and blur are all good company for this recipe. I have had good fun using it with macro extender rings for example, which get you in close, but distort the areas out of focus.
Early Spring arrival, captured in marco with Silent Era film recipe
Silent Era Film Recipe
Simulation: Acros Green Filter
Grain Effect: Strong, Large
Colour Chrome Effect: Off
Colour Chrome Blue: Off
White Balance: Shade
WB Shift: 0 Red, 0 Blue
Dynamic Range: DR400
Highlights: -1.0
Shadows: +2.0
Mono Shift: WC +5, MG +2 (or set on 0, 0 for pure mono)
Sharpness: -4
ISO Noise Reduction: -4
Clarity: -5 (important – embrace the saving delay!)
EV compensation: 0
The blur of macro extenders works well with the feel of Silent Era film recipe
Summer photowalk captures with Silent Era film recipeOut in the woods with the Silent Era film recipe
Pine fronds, captured in sunlight with the Silent Era film recipe
Trees and plants are good choices with the Silent Era film recipeForest road in the winter, using Silent Era film recipe
Anyone for tennis? My other hobby, captured with Silent Era film recipeA summer day on the riverbank, Silent Era film recipe
Alongside the River Itchen, shooting mono with Silent Era film recipePhotographers often see details that others miss. Silent Era film recipe
Fern forms at the end of summer, Silent Era film recipeSpringtime sees the fields beginning to fill with crops, Silent Era film recipeFlowers in the meadow, with the vintage feel of Silent Era film recipeWildflowers on a warm afternoon, using Silent Era film recipeHazy sunshine on a hot afternoon, Silent Era film recipeApril bluebells, captured with Silent Era film recipeFresh spring growth, and the Silent Era film recipeLittle details, captured with Silent Era film recipe
More Mono Looks
For monochrome looks with nostalgic colour tones and a vintage feel, look no further than this selection for you Fujifilm camera.
Classic Negative film recipe with a bronze colour tone
I’ve created well over 200 film recipes now, and it’s understandable that some are visually similar to others. There are after all only a modest number of film simulations, and a reasonably narrow range of white balance and colour shift combinations that produce usable results. Every now and again though, I manage to come up with a recipe with a look that is all its own.
Bronze Age is such a recipe, with a noticably bronze tone colour shift that both warms and adds character to images. The look is nostalgic I suppose, but isn’t really vintage. I think it suits golden hour especially well, and generally bright conditions. It’s a strong effect, but still retains enough natural tone to be useful across a wide range of subjects.
So, Bronze Age is something different, something to try when you lack inspiration, or when you want to give a fresh look to your images that you haven’t tried before. Here are the recipe details, and as always, a range of my sample images to show you how I used the recipe.
Sunny days and the Bronze Age film recipe go well together
Bronze Age Film Recipe
Simulation: Classic Negative
Grain Effect: Weak, Large
Colour Chrome Effect: Weak
Colour Chrome Blue: Strong (IV) / Weak (V)
White Balance: 7500K
WB Shift: +4 Red, +2 Blue
Dynamic Range: DR200
Highlights: +1.0
Shadows: -2.0
Color: -4
Sharpness: 0
ISO Noise Reduction: -4
Clarity: -2
EV compensation: -1/3
Dandelion clock lit be the evening sun. Bronze Age film recipeThe papery petals of a red poppy, with Bronze Age film recipe
Bronze tones in the summer hedgerows, with Bronze Age film recipeA sunny afternoon in the forest, with the Bronze Age film recipe
A fallen beech, captured with Bronze Age film recipeSpring leaves are bursting through. Bronze Age film recipe
Soft tones for seasonal blooms, Bronze Age film recipeNo room for leaves whilst this is in flower. Bronze Age film recipeA murky morning after the rain, Bronze Age film recipe
Drizzle weather in a German village, Bronze Age film recipeOn the beach in Mallorca, with Bronze Age film recipeHard to choose just one! Bronze Age film recipe
Photos from a Mallorca vaction, using the Bronze Age film recipeMorning mist gives everything a new look, Bronze Age film recipe
Late autumn moods, captured with the Bronze Age film recipe
A Classic Chrome film recipe designed for outdoor shooting and natural colour
From time to time, I get asked whether I might be able to make a film simulation recipe for certain situations, or to macth the work of a photographer or social gallery. I do enjoy these challenges, although it’s not always possible to acheive the look in question with jsut a film recipe.
A similar challenge came my way when I was discussing an upcoming safari trip with our of our Facebook club members. David Forsdike was due to travel to South Africa, and wanted some ideas for a recipe to use for wildlife phtoography. He has X-Trans V cameras and had bagged a new zoom lens for the trip.
My thoughts on this were two fold. Firstly, I was new to X-Trans V, having only recently upgraded to an X-S20, which uses a hybrid of the series IV sensor and series V processing and simulations. I didn’t yet have many RAW files to experiment on, or full confidence in how X-Trans V recipes might look. Secondly, I’ve not visited South Africa, so it was hard to be sure what conditions David might find there. I’ve seen episodes of Wild Earth on YouTube, which was a clue that we’d be dealing with dawn or dusk, but also possibly some hard sunlight too.
So, I decided a new recipe would be best, developed on my X-S20 and in X RAW Studio. I wanted something that didn’t make strong changes to the images, because the star should be the wild animals, rather than the tone or mood form the recipe. This was also important so that they remained true colour, so we avoid any orange leopards or pink elephants that might otherwise look odd.
I picked Classic Chrome as the base simulation and I chose to add a little film like tone with a -3 shift for Blue. Classic Chrome is naturally desaturated, so I boost colour by 2 steps to bring back some of the vibrancy. For the lower light flexibility and protection in harsh conditions, I paired DR400 with -1 highlights and shadows. This should give a bit more shadow detail and soften the harsh light.
Below is my Safari Chrome recipe, which David took to South Africa. As you’ll see, he was lucky and saw a wide variety of impressive wildlife, and also captured some compelling scenes in a local market. My guess of hard sunlight, didn’t come to pass on the game drives, but the natural colour and soft shoadows approach for the recipe, produced a natural result and I think his images look great!
African Elephant, captured with the Safari Chrome film recipe
Safari Chrome Film Recipe
Simulation: Classic Chrome
Grain Effect: Off
Colour Chrome Effect: Weak
Colour Chrome Blue: Strong (IV) / Weak (V)
White Balance: Auto
WB Shift: 0 Red, -3 Blue
Dynamic Range: DR400
Highlights: -1.0
Shadows: -1.0
Color: +2
Sharpness: 0
ISO Noise Reduction: -4
Clarity: 0
EV compensation: +1/3
All photos are by David Forsdike, with X-H2S and the 150-600mm zoom.
A magnificent leopard, photographed with the Safari Chrome film recipeNot a beak to be messed with! Safari Chrome film recipe
Street photography at the trading spot, Safari Chrome film recipeTwo handomse lions, captured with Safari Chrome film recipeWatching from a high vantage point, Safari Chrome film recipeSomewhere to pick up souvenirs, Safari Chrome film recipeAll sorts of gifts for sale, Safari Chrome film recipeWildebeest, taken using the Safari Chrome film recipeCute ears, but big teeth. Safari Chrome film recipeLounging around, snapped with Safari Chrome film recipeA distant cheetah, with the Safari Chrome film recipeZebra gathering, using the Safari Chrome film recipeLeaning over … with Safari Chrome film recipeSpotted. Taken with the Safari Chrome film recipe
A Classic Negative film simulation recipe for photo walks in woodlands, forests and the great outdoors
I’ve been distracted these past couple of weeks by the arrival of my X-S20 camera. Whilst many in the Fujifilm world have been enjoying their new X100VI cameras, I’ve been having just as much fun, with this upgrade from my trusty X-S10.
The reason for explaining this, is that whilst I’ve been testing Nostalgic Negative a lot, I’ve also been revisiting the Classic Negative simulation. In comparing the two, I’ve been finding a new appreciation for the wonderful green tones and characterful colour when using Classic Negative in a natural and woodland setting. Reds also look great, and the richer colour is especially strong in gloomy or wet conditions.
In the standard Classic Negative, there is a blue tone to green areas of your photos, which is strongly reminiscent of prints from Fujicolor film, but for this look, a strong -5 blue setting steers this back towards a more natural and contemporary look. As you’ll see below, this new look is great in nature and the green spaces of a forest or woodland. If you like in a part of the world where greens are in season, then I think you’ll enjoy trying out Woodland Negative film recipe.
Woodland Negative Film Recipe
Simulation: Classic Negative
Grain Effect: Weak, Small
Colour Chrome Effect: Weak
Colour Chrome Blue: Off (IV) / Off (V)
White Balance: Auto
WB Shift: +1 Red, -5 Blue
Dynamic Range: DR100
Highlights: +0.5
Shadows: -0.5
Color: +2
Sharpness: -1
ISO Noise Reduction: -4
Clarity: 0
EV compensation: 0
Bright sunlight through the trees, using Woodland Negative film recipeWoodland Negative film recipe is a great choice in wet weather
Gloomy days in the woods with the Woodland Negative film recipe
Changing of the seasons, captured with Woodland Negative film recipe
Exploring green paths, with the Woodland Negative film recipe
Winter stalks and blue skies, using Woodland Negative film recipe
Fruits of the autumn forest, with Woodland Negative film recipe
Capturing muchroom season with the Woodland Negative film recipe
Winter sunlight, with a 70-300mm lens, and Woodland Negative film recipe
Let’s get out there, with the Woodland Negative film recipeWhat will you discover with the Woodland Negative film recipe?
Pro Neg Standard film simulation recipe designed for natural scenes
On my commute to work, I often find myself daydreaming about film recipes and taking photos. The route I take passes through England’s Cotswolds and so I’ve dreamt up this recipe for rural, natural and backroad scenes.
My go to film simulation for natural scenes is Pro Neg Standard, which has a naturally soft look and a gently nostalgic film like feel. This suits the colour palette of landscape photography, and looks lovely in soft sunlight, such as at the ends of the day. In this spirit, Costwold Standard has a warm colour balance, reminiscent of the warm tones of the buildings and summer fields found in this region.
I’ve tested this recipe on my X-S10 from winter though to mid-summer and found it a flexible and versatile recipe, keeping a soft look throughout the seasons. I’m sure it’ll also work where you live, and bring a similar feel to your images too.
Winter walks amongst the big trees, using Cotswold Standard film recipe
Cotswold Standard Film Recipe
Simulation: PRO Neg. Std
Grain Effect: Weak, Small
Colour Chrome Effect: Weak
Colour Chrome Blue: Off (IV) / Off (V)
White Balance: Auto
WB Shift: +4 Red, -6 Blue
Dynamic Range: DR400
Highlights: -1.5
Shadows: +0.5
Color: -2
Sharpness: -1
ISO Noise Reduction: -4
Clarity: 0
EV compensation: +1/3
A winter visit to Montacute House, using Cotswold Standard film recipe
Around the gardens of Montacute House, Cotswold Standard film recipeA summer afternoon, with the Cotswold Standard film recipeSummer wheatfield detail, using Cotswold Standard film recipeA golden hour silhouette, with the Cotswold Standard film recipe
Interesting plants, captured with the Cotswold Standard film recipe
Winter photowalks with the Cotswold Standard film recipe
Playing with the light inside Montacute, Cotswold Standard film recipeA last look before leaving, with Cotswold Standard film recipeThe bare trees of a winter woodland, Cotswold Standard film recipe
A dusting of snow, using the Cotswold Standard film recipeMellow tones in the mellow season, Cotswold Standard film recipe
Sunlight and dead leaves, captured with Cotswold Standard film recipeEven in winter, there are kite surfers. Cotswold Standard film recipe
A winter afternoon on the shore, Cotswold Standard film recipe
Recreating the classic Kodak film look with Fujifilm X-Trans IV
I’ve been spending time on Threads recently, and enjoying the posts of some film photographers. I like to see how different film stocks render and think about capturing the vibe in a film recipe.
The various Kodak Portra films are very popular, and I see 400 and 800 a lot. A little less often, I come across images with Portra 160, and these inspired me to have a fresh try at captuing this classic Kodak look.
I personally feel that you can creatie a Kodak Portra style with several of the film simulations in our cameras. I’ve used Classic Chrome a few times, Classic Negative and even Pro Neg too (see bottom of the page), but for this soft film style, my starting point was Eterna.
Some Portra recipes push the creamy tones aesthetic quite hard, but I don’t always see this in scans of actual Portra photos. So this recipe is another contribution to the growing list of Portra looks, but it’s one that I really enjoy, and feel captures the Kodak Portra look quite closely.
A small fishing boat on the beach, Kodak Portra 160 film recipe
Kodak Portra 160 Film Recipe
Simulation: Eterna/Cinema
Grain Effect: Weak, Small
Colour Chrome Effect: Weak
Colour Chrome Blue: Off (IV) / Off (V)
White Balance: Fluorescent 2
WB Shift: -2 Red, -6 Blue
Dynamic Range: DR400
Highlights: +1.5 (use +1 on older cameras)
Shadows: -0.5 (use 0 on older cameras)
Color: +3
Sharpness: -2
ISO Noise Reduction: -4
Clarity: -3
EV compensation: +1/3
Autumn tones in golden sunlight, using the Kodak Portra 160 film recipeThe tide is in for a change, using the Kodak Portra 160 film recipe
A zoomed in view of the same boats, with the Kodak Portra 160 film recipeThe peak of autumn colour, using the Kodak Portra 160 film recipeNovember saw the peak of colour this year, Kodak Portra 160 film recipe
Winter softness, captured with the Kodak Portra 160 film recipe
As autumn ends, the mushrooms start to show, Kodak Portra 160 film recipe
A winter sunrise at the rail tracks, with Kodak Portra 160 film recipe
I love frosty mornings. Just great for trying the Kodak Portra 160 film recipeLooking up … Kodak Portra 160 film recipe
Natural subjects work well, with the Kodak Portra 160 film recipe
Go for green, with the Kodak Portra 160 film recipe
More Kodak Portra Film Recipes
As one of the most popular film stocks, there are a good selection of film recipes that present different takes on the Kodak Portra vibe. Here’s a few from this site and others to inspire your next photo session.